

Waspie corsets are a stunning way to define your waist and enhance your silhouette — but lacing them correctly is key to achieving both comfort and shape. Whether you’re new to corsets or an experienced waist trainer, learning how to lace a waspie corset the right way ensures you get the best fit without damaging your garment.
In this detailed guide, we’ll explore the front lacing, back lacing, and side lacing methods, along with practical tips, pros and cons, and expert advice for maintaining your corset’s structure and longevity.
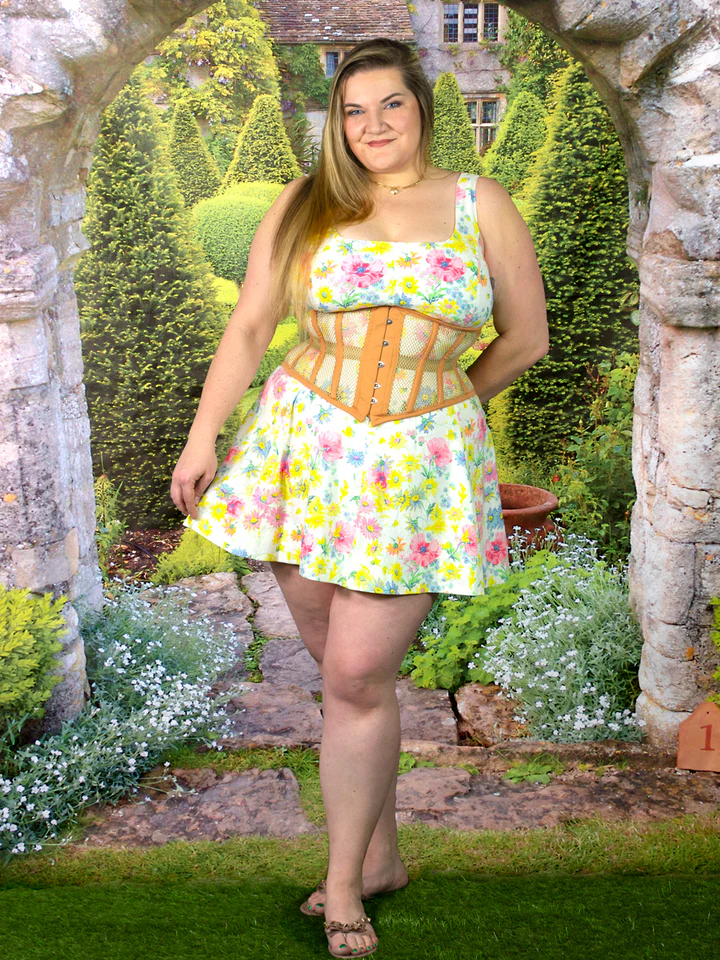
What is a Waspie Corset?
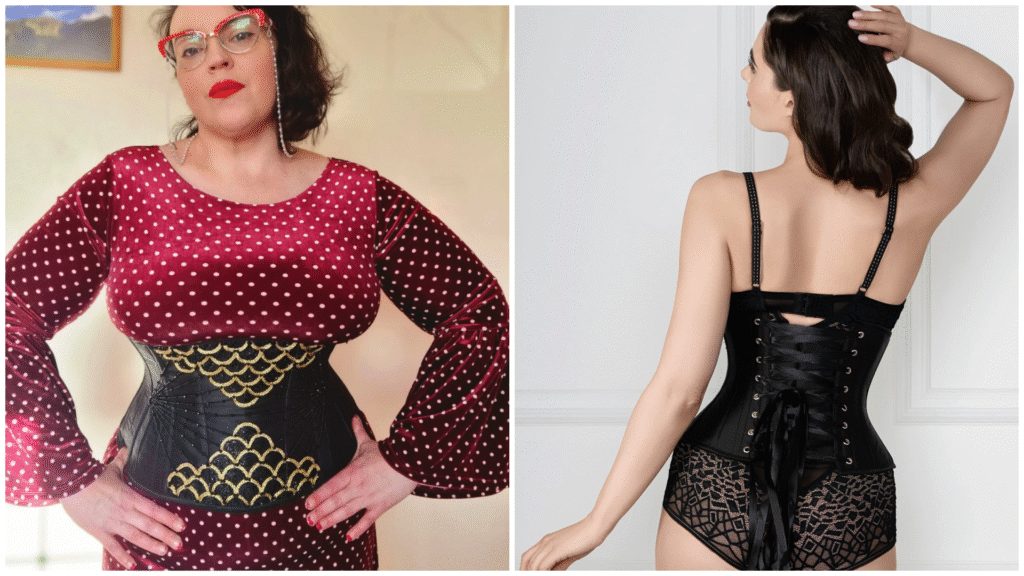
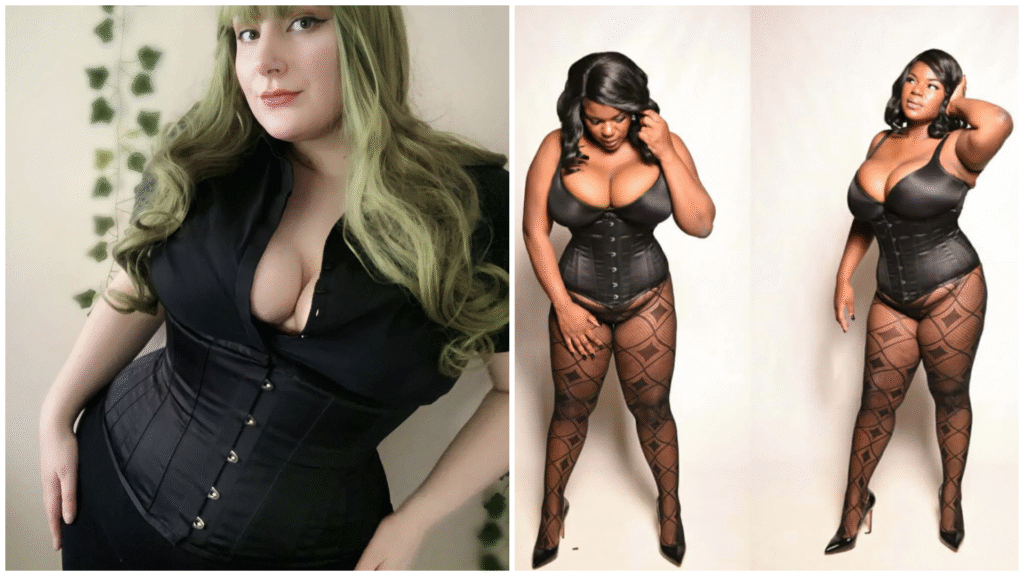
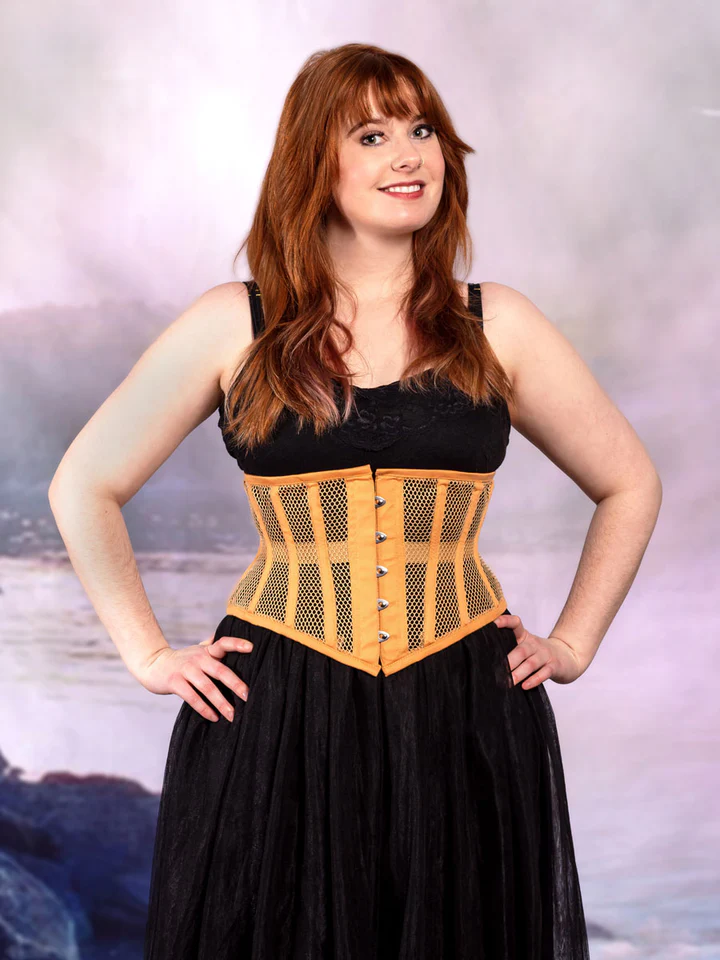
A waspie corset is a short underbust corset that cinches the waist while leaving the bust and hips free. It’s perfect for achieving an hourglass shape, layering with clothing, or wearing for waist training. Because of its shorter length, a waspie corset offers more flexibility and is easier to wear daily than a full-length corset.
Waspie corsets come with different lacing styles — usually in the back, but sometimes on the front or sides for fashion or function. The way you lace your corset affects both comfort and the final fit.
Why Lacing Style Matters
The lacing technique determines how evenly pressure is distributed across your waist. A properly laced corset:
- Provides balanced compression
- Prevents fabric or boning damage
- Allows easier adjustment throughout the day
- Creates smoother, more flattering curves
- Reduces discomfort and improves posture
Knowing the different lacing methods helps you choose the best option for your goals — whether it’s for fashion, waist training, or everyday wear.
Types of Waspie Corset Lacing Methods
Here’s a closer look at the most common waspie corset lacing styles — front, back, and side lacing — and how to do them correctly.
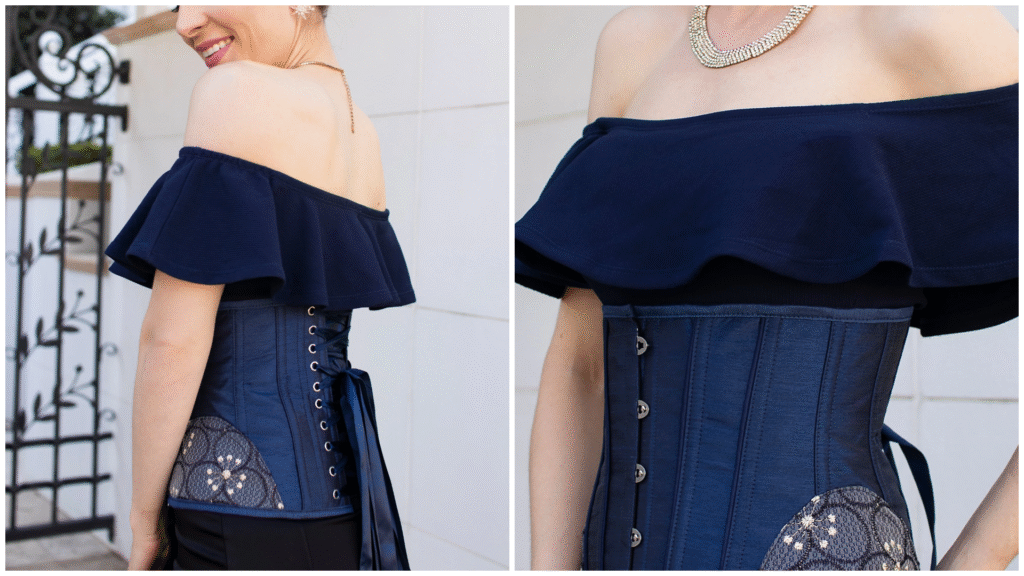
1. Back Lacing Method (Traditional Style)
The back lacing method is the most common and traditional way to lace a waspie corset. It offers the best control over waist reduction and allows even tightening from top to bottom.
How to Lace a Waspie Corset from the Back:
- Lay your corset flat with the inside facing you.
- Thread the laces through the top two eyelets from the inside out.
- Continue threading in an “X” pattern until you reach the waistline.
- At the waist, create loops (these are your “bunny ears”).
- Continue threading downward in an “X” pattern until you reach the bottom.
- Pull the loops evenly to tighten, then tie them into a bow or knot.
Pros:
- Provides best waist reduction
- Allows full control over pressure
- Classic and secure style
Cons:
- Harder to lace by yourself
- Time-consuming for beginners
2. Front Lacing Method
The front lacing corset is perfect for those who prefer convenience. It’s easier to adjust on your own and ideal for fashion corsets or light waist training.
How to Lace a Waspie Corset from the Front:
- Start by threading your laces from the inside out through the top eyelets.
- Cross the laces down in an “X” pattern until the waistline.
- Create loops at the waist for tightening.
- Continue down and tie securely at the bottom.
Pros:
- Easy to put on and take off alone
- Great for decorative or casual wear
- Quick adjustments throughout the day
Cons:
- Less waist compression control
- Visible lacing may not suit all outfits
3. Side Lacing Method
The side lacing method combines fashion and function. It’s often used in gothic or steampunk corsets and allows balanced adjustment on both sides.
How to Lace a Waspie Corset from the Sides:
- Start from the top and thread downward in an “X” pattern along both side seams.
- Create small loops at the natural waist area.
- Tighten both sides evenly to ensure balance.
Pros:
- Stylish and symmetrical look
- Great for fashion-forward corset designs
- Allows flexibility and movement
Cons:
- Harder to lace evenly on both sides
- Less common in traditional corsetry
Comparison of Waspie Corset Lacing Methods
| Lacing Style | Ease of Use | Waist Control | Style Appeal | Best For |
|---|---|---|---|---|
| Back Lacing | Moderate | Excellent | Classic | Waist training, formal wear |
| Front Lacing | Easy | Moderate | Fashionable | Everyday wear, beginners |
| Side Lacing | Moderate | Balanced | Unique | Gothic or alternative fashion |
Expert Tips for Lacing a Waspie Corset
- Start loose: Don’t over-tighten at first. Gradually tighten the laces over 10–15 minutes for comfort.
- Create even tension: Pull both sides evenly to prevent uneven pressure.
- Use high-quality laces: Strong cotton or satin laces prevent tearing or stretching.
- Avoid over-tightening: Over-compression can damage the fabric or hurt your ribs.
- Check your alignment: Ensure the corset sits evenly across your waist for a flattering fit.
Caring for Your Corset Laces
To maintain your waspie corset’s laces:
- Hand wash them gently in cool water with mild detergent.
- Air dry completely before rethreading.
- Replace frayed or stretched laces regularly to avoid snapping during wear.
Proper maintenance ensures your corset stays strong and secure while looking beautiful.
Final Thoughts
Learning how to lace a waspie corset properly makes all the difference in achieving a comfortable, secure, and flattering fit. Whether you prefer back lacing for control, front lacing for convenience, or side lacing for style, each method offers its own unique benefits.
Take time to practice, find your perfect lacing style, and treat your corset with care — because the right technique not only enhances your figure but also preserves the beauty and longevity of your corset.